 |
| Table saw tote design underlays set to transparent |
In fact, I downloaded a bunch of saw tote designs, both drawings and photos, and worked with them all, plus what I had, to develop a tote that would work for this saw but still had that classic tote design. My first tote design was a few years ago, and while I was happy with it at the time, when I look back I can see a number of mistakes, that I've tried to improve upon moving forward. Why try to reinvent the wheel when we can all stand on the broad shoulders of those that came before us? And if you ask the guys who have made their tote designs available for download, I think they'll say the same thing. Their designs come from traditional saw makers too. (The TGIAG drawing included in the underlays above is labeled as a Disston No. 9, very similar to the No. 12) Still, the clean geometry of the drawings these guys make available for download make them even easier than photos to work with. My thanks (again) to Two Guys in a Garage, and Blackburn Tools for making them available.

Above is the design I put together (in red) for the 6 inch backsaw in the YouTube video, overlaid on a pistol grip tote design from Blackburn, which is one of the designs I used for reference, mostly for the grip. The design of the grip, including the relative positions of the 4 circles that make up the inside and outside portions of the grip at the top and bottom is critical for a comfortable tote design, and these relative positions change with hand size, as well as angle of attack. And you can see that I had to adjust the angle of attack on this tote considerably given the short plate length of this saw. Other changes include heavier horns to prevent breaks, elimination of the hook, more mass in the cheeks, lining up the saw bolts, and a few other minor stylistic changes. In the YouTube video about this saw build, you can also see that I added length to the horns, and combined the double top nib into a single nib.
 |
| The completed Table Saw tote design, with a nod to its Disston No. 12 origins |
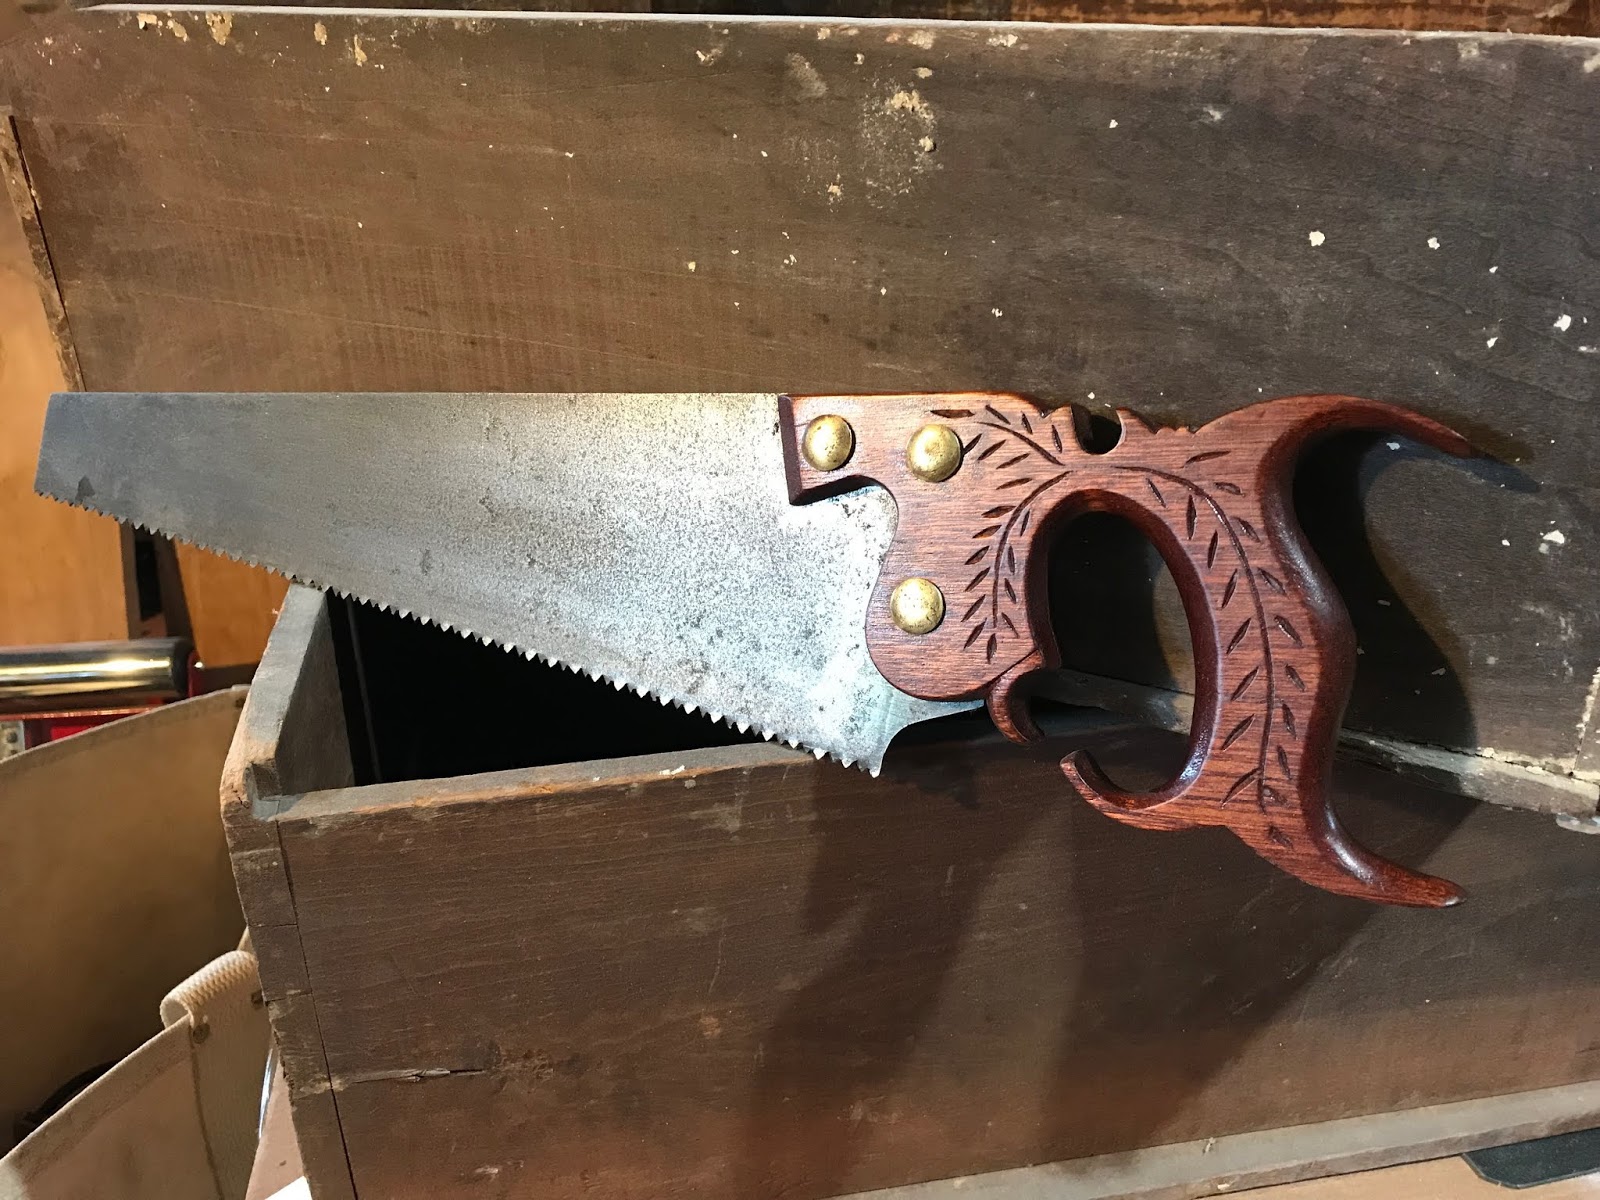
Above is my most recent tote design.* This is the design that resulted from all of the underlays shown in the first image at the top of this post. Its for a table saw, or pruning saw. I'm using Vectorworks for the CAD drawing. I found a nice old Disston No. 12 in the basement of my brother-in-law's family home. He thinks it may have belonged to his grandfather. Only half of the tote was there, it was rusted, and it had been sharpened so many times that the plate was nearly gone. You've seen those saws that come to a point at the end like a crazy keyhole saw. (You can see the plate in the top photo, which I used to lay out the holes in the tote design.) So I decided to cut it down and make a short hand saw for breaking down pine boards and other light duty stuff. Once I squared off the cutting edge, and trimmed the toe, the fourth tote hole was too close to the teeth, so I decided to remove it. (You can see the hole drawn in the final design, above. Its just outside the cut line of the new heel design on the plate.)

Here's how it turned out. I wanted a pistol grip for this little saw--I think its about 14 inches long--but I wanted to recall the extra loop in the grip of the Disson No. 12, so I opted for a little remnant. I cut new teeth for crosscut at 7 PPI, so its a little bear when chopping through softwood. The wheat design chip carving and the salvaged saw bolts are also a nod to the saw's history, but I gave up on trying to use a medallion; the cheek design just got too goofy looking when I made it large enough to fit the medallion.
It was a fun little saw to make, and it fits in a tool box, and I can throw it in a bag with the other tools when I'm working around the house and not worry about it getting beat up a little.
* If you think any of these tote designs might be useful for one of your own projects, please feel free to download. If you need a pdf, leave me a comment with your contact and I'm happy to send what you need or see if I can post it.
No comments:
Post a Comment